
A small rectangular layout with one simple block and two contrasting fabrics. Allow about 15–20 minutes for the software steps; sewing and printing are separate. You need the licensed Mac app for the editing steps. The calculator and sample PDF are free.
Try the 52 × 64-inch calculator example1. Start with a simple block
Choose New quilt. Weekend rails is a useful starting point because its strip-pieced blocks have no triangles. You can also start blank. Keep the first experiment small and use the making book’s supported construction instructions; a striking design can be harder to sew than it looks.
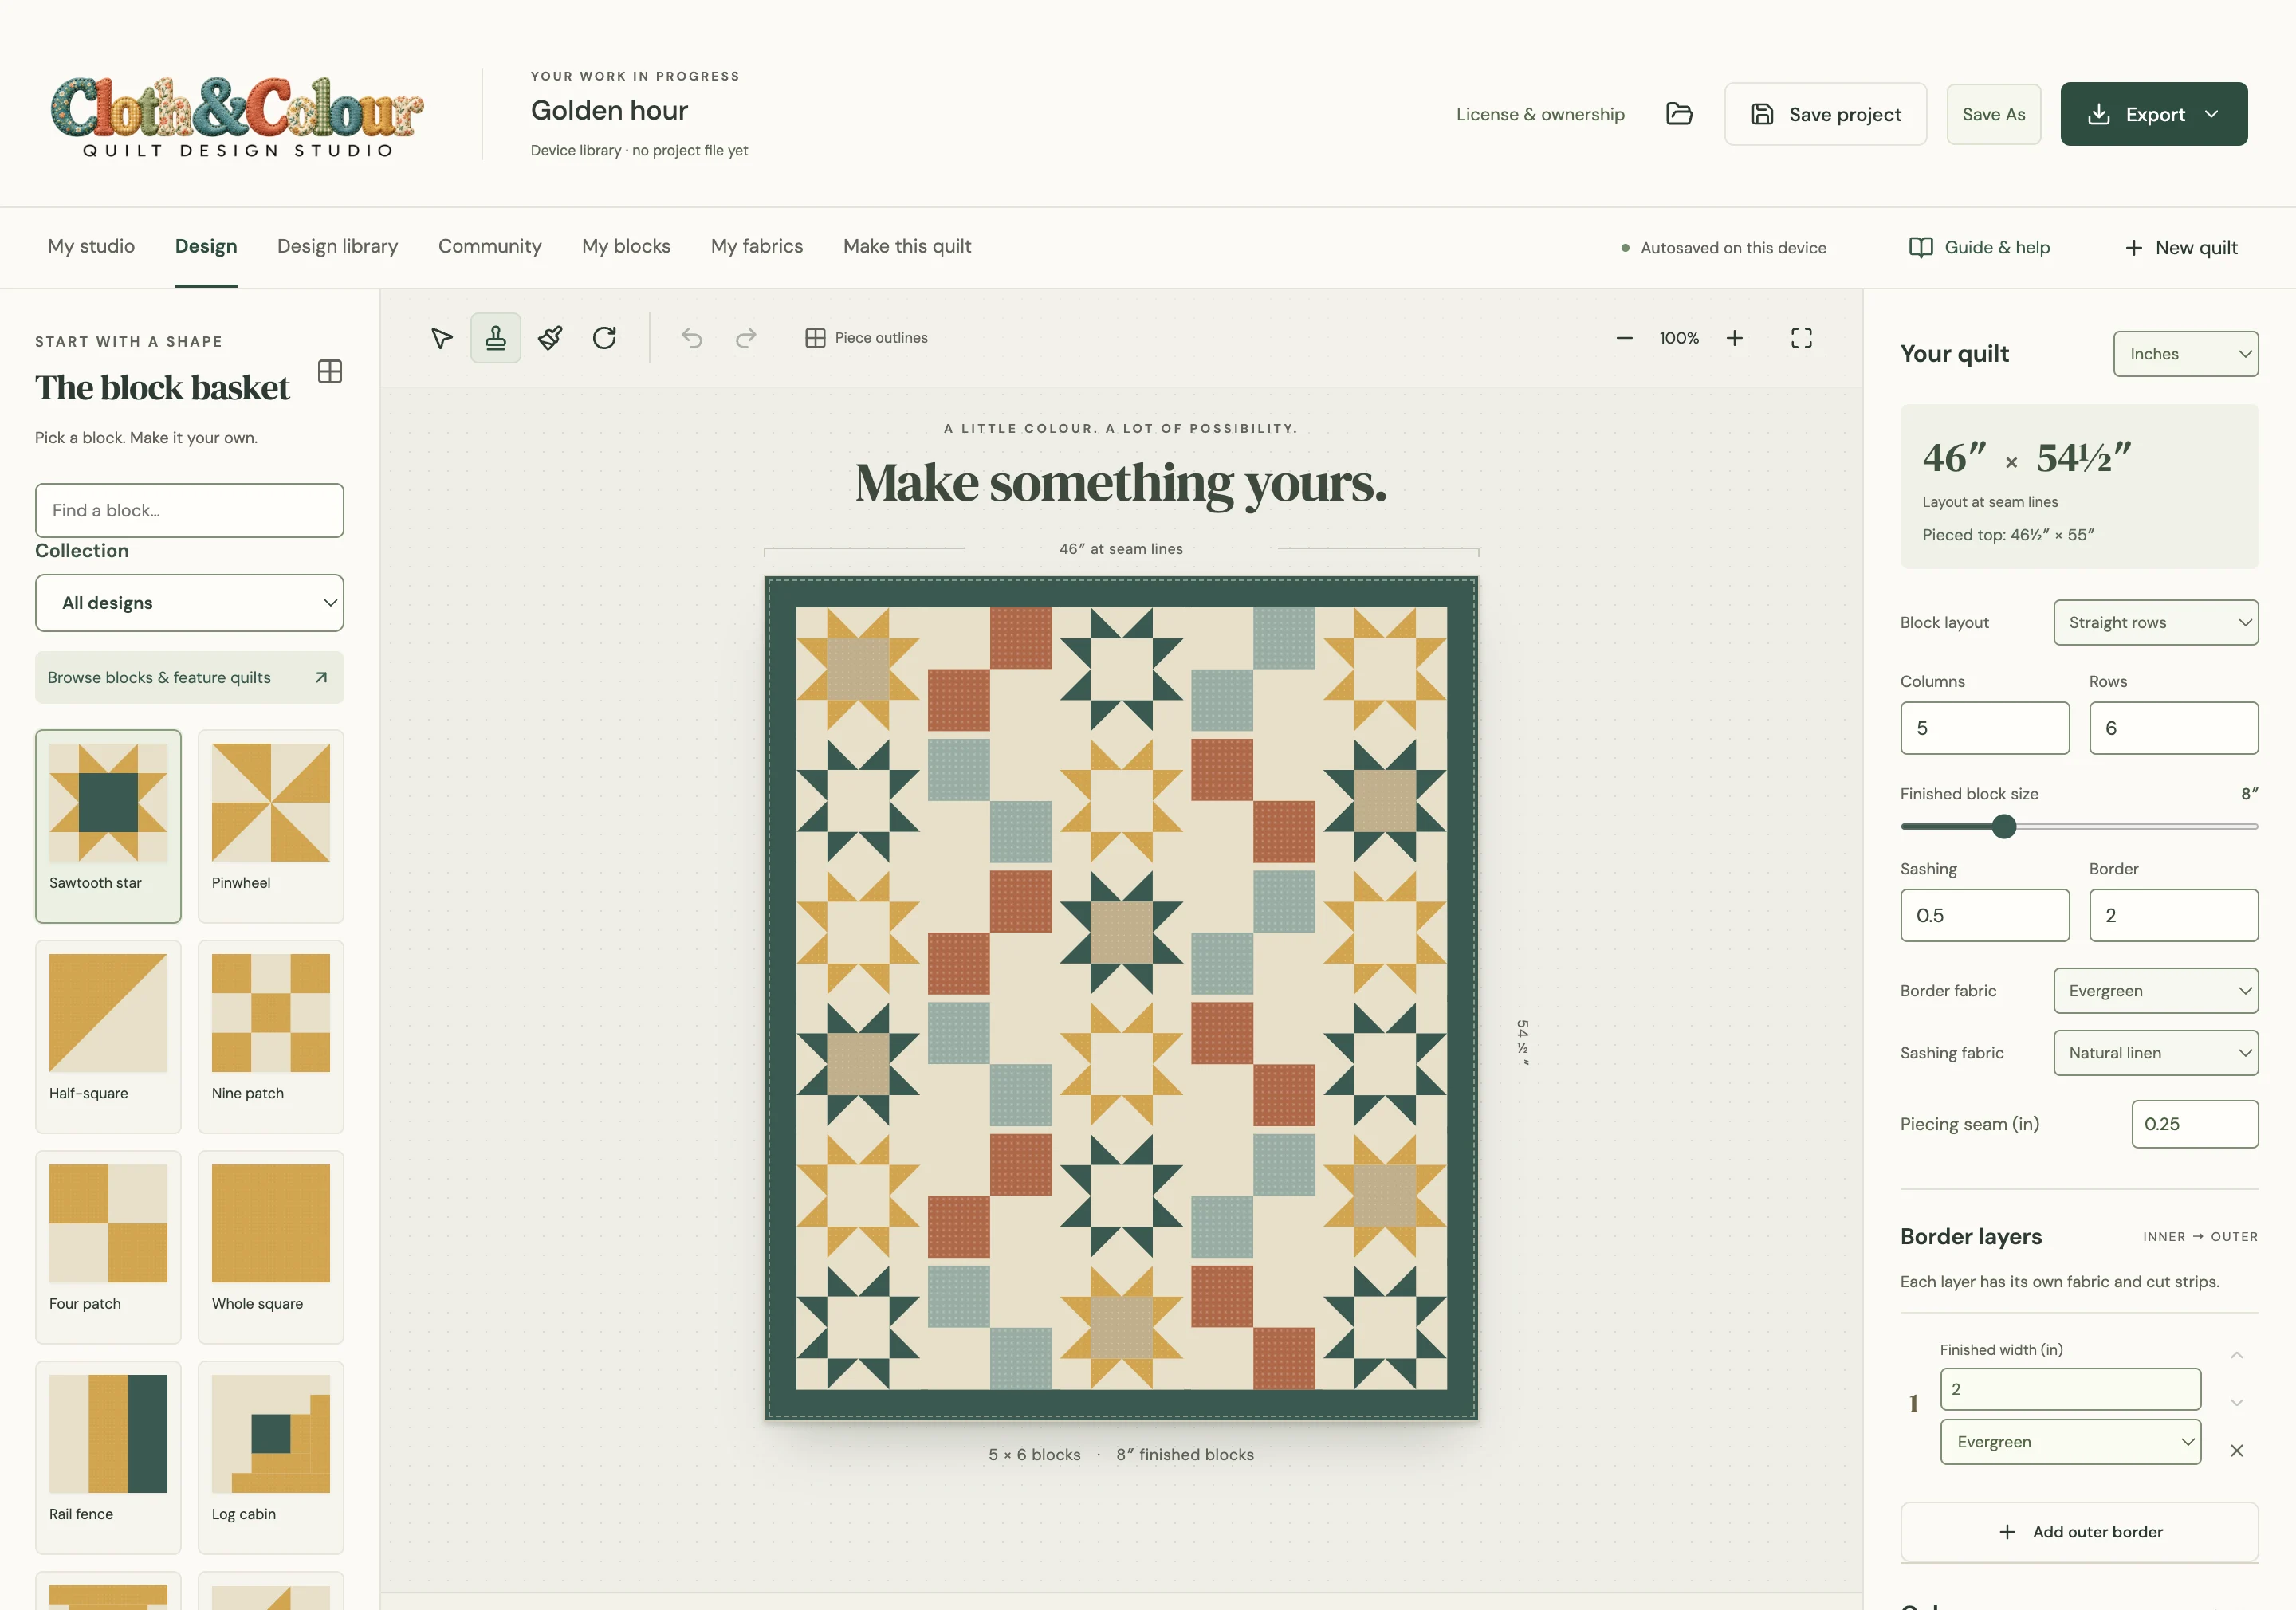
2. Check finished and unfinished size
For a separate layout exercise, open the free calculator with four blocks across, five down and 10-inch finished blocks. Add 2-inch internal sashing and a 3-inch border per side. The finished layout is 52 × 64 inches: width is 4 × 10 + 3 × 2 + 2 × 3; height is 5 × 10 + 4 × 2 + 2 × 3.
With a ¼-inch seam around the outside, each whole block is 10½ inches unfinished. This does not describe the size of every strip or patch. The calculator example is a planning exercise, not a cut list for the Weekend rails preset. Check the actual app’s size controls and making instructions for your chosen quilt.
3. Paint a piece, then try Undo
In Design, choose a fabric swatch and click the exact piece you want to change. Try the centre and a different strip or triangle: each sewn piece can have its own fabric. Use Undo to restore the previous assignment.
Painting assigns an existing fabric to one piece. Editing the fabric itself in My fabrics changes its uses throughout the current quilt. Add a new fabric when you want an independent colour, rather than changing a fabric you still need elsewhere.
4. Turn blocks and look at the whole quilt
Try clockwise or counterclockwise rotation, then horizontal or vertical mirroring. Look for shapes formed between neighbouring blocks. Stamp replaces a whole block; painting changes a fabric assignment. Save a separate project before a large experiment.
5. Bring in one real fabric
Open My fabrics → Import a fabric photo. Use an evenly lit photograph with fabric filling the frame. Crop out the table and set the measured width of the cropped square. The fabric-photo walkthrough shows what to check. Screen colour is a preview, so compare the real fabrics together too.
6. Save, reopen and inspect the output
Save project writes your portable quilt file. Save As makes an independent project in the desktop app. Reopen the saved file to check it before relying on it as a backup. Keep another copy on a separate device or backup location.
Open Make this quilt. Review the cut list, recipes, placement and any warnings for this exact design. Compare with the free sample making book, then follow the printing walkthrough. A sample PDF demonstrates output; it is not your newly edited quilt.
Before you move on
- The light and dark fabrics are easy to distinguish at a distance.
- The saved project reopens with the expected layout and colours.
- Finished dimensions, seam allowance and the making book agree.
- You will sew one sample block before cutting all the fabric.
Cloth & Colour is available for Mac; Windows is not released. Check system requirements and pricing and ownership before buying. Quilting skills such as safe cutting, accurate seams and pressing still need practice away from the screen.