
You need your quilt’s making book, a printer or PDF viewer, the matching Letter or A4 paper, and a reliable ruler. Try the free sample making book to inspect the output before buying. A saved PDF is not proof of accurate physical printing.
1. Decide what kind of page you need
A placement diagram shows where blocks or pieces go. A cutting template describes a shape to cut. Finished dimensions describe the size after assembly. Read the page labels: do not trace a placement picture as a template or add another seam allowance to one that already includes it.
The free calculator’s PNG, SVG and print exports are layout diagrams only. Their labelled numbers are useful for planning; their drawn size is not a fabric cutting measurement.
2. Review Make this quilt before printing
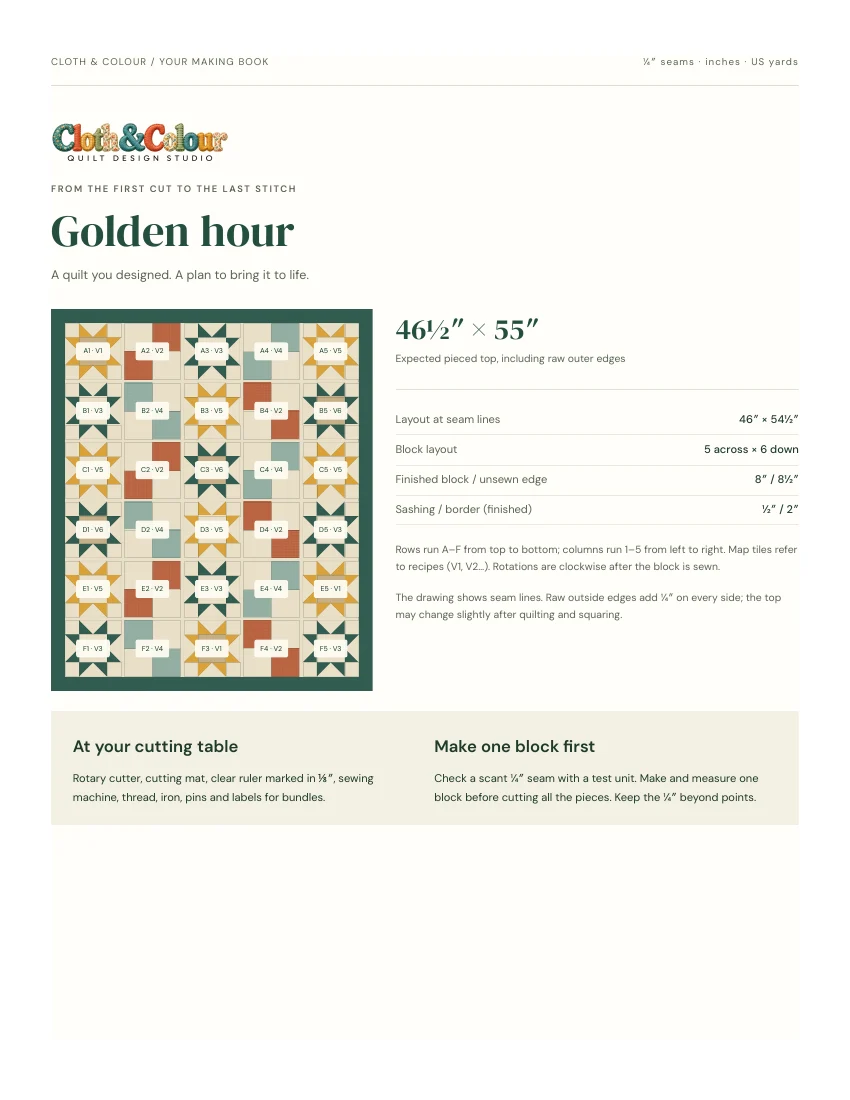
Open Make this quilt in Cloth & Colour. Resolve plan warnings and inspect the construction instructions, finished size, cutting dimensions, units and seam allowance. Use a supported size suggestion if the chosen block cannot produce a reliable automatic plan.
3. Choose paper and pages
Select US Letter or A4 to match your paper. Choose the complete book, placement atlas or the recipes and templates you need. The page picker lets you select required recipe pages, complete template pieces or individual tiles. Keep replacement sheets from the same packet and settings.
4. Open Print / Save PDF
Choose Print / Save PDF to open the operating system’s print dialog. For a digital copy, use the PDF option there. For actual-size templates, choose 100% or Actual size in the print software; turn off Fit, Shrink to printable area and other automatic scaling.
Labels differ between printer drivers and PDF viewers. Check both the paper selection and scale setting in the software doing the printing. Saving a PDF does not lock those settings for its next viewer.
5. Print and measure a calibration page
- Print one page containing the calibration marks.
- Measure the calibration squares and the 50 mm bar with a reliable ruler.
- Check both horizontal and vertical measurements where marks are provided.
- If either measurement is wrong, fix the print settings or printer behaviour before using the templates.
- Repeat this check when changing printer, paper size or print software.
We have verified Mac print-dialog/PDF output. Your physical printer’s calibration and your sewing results must still be checked; we do not claim every printer or sewing method has been tested.
6. Assemble tiles by their registration marks
Large templates can span multiple pages. Tiled pages use a 10 mm overlap and registration crosses. Keep packet order, match the marks and secure the sheets flat. Do not align only the outside paper edges, because printable margins vary.
Check labels and seam lines across each join. Reprint a missing tile from the same export. Mixing sheets from different sizes or packets can create a plausible-looking template that does not fit.
7. Sew one test block
Use spare fabric, the specified seam allowance and the plan’s pressing method. Measure the assembled block against its expected unfinished and finished dimensions. Calibration checks paper scale; a sewn block also checks construction and pressing.
Yardage can change with fabric width, shrinkage, directional motifs, cutting choices and mistakes. Read the material assumptions and allow appropriate extra fabric. A template that measures correctly does not validate every possible cutting arrangement.
Before you move on
- Paper size and print scale match the packet.
- Calibration marks measure correctly in both directions.
- All tiles come from the same export and line up at their registration marks.
- One sewn test block matches the plan before you cut the full quilt.
Next: plan a first small quilt, preview your actual fabrics, or watch the studio demonstration.